An interior painting checklist helps homeowners prepare rooms properly before repainting. Key steps include cleaning walls, repairing damage, sanding surfaces, protecting furniture and floors, choosing the right paint sheen, applying primer when needed, and allowing proper drying time between coats for a smooth, durable finish.
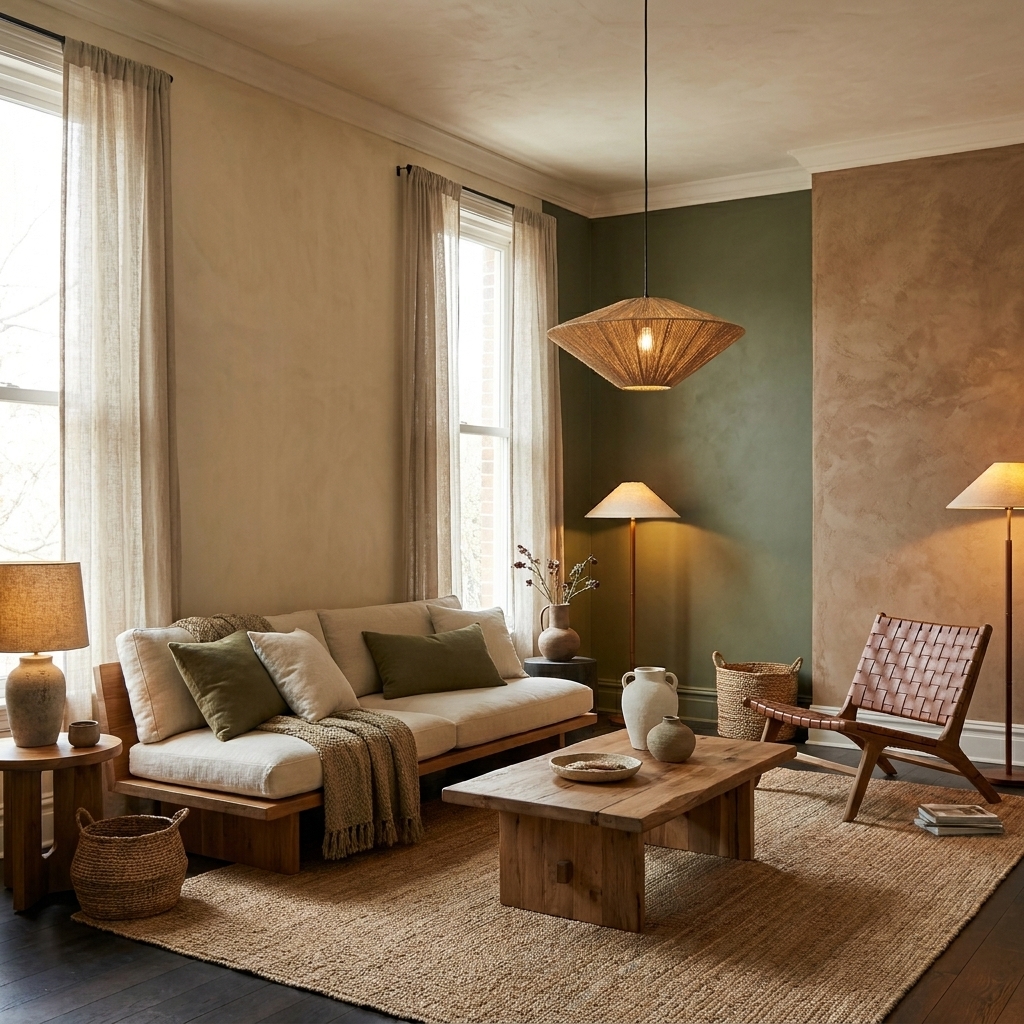
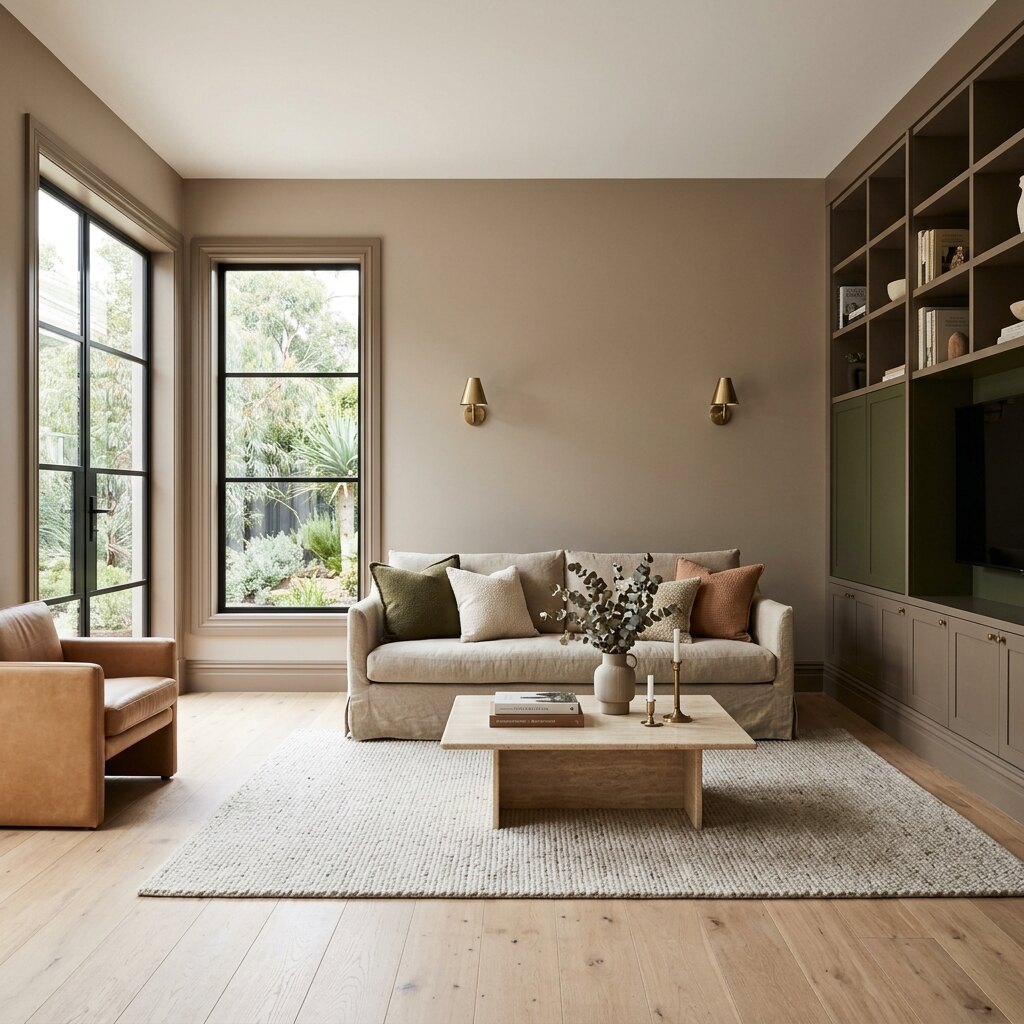
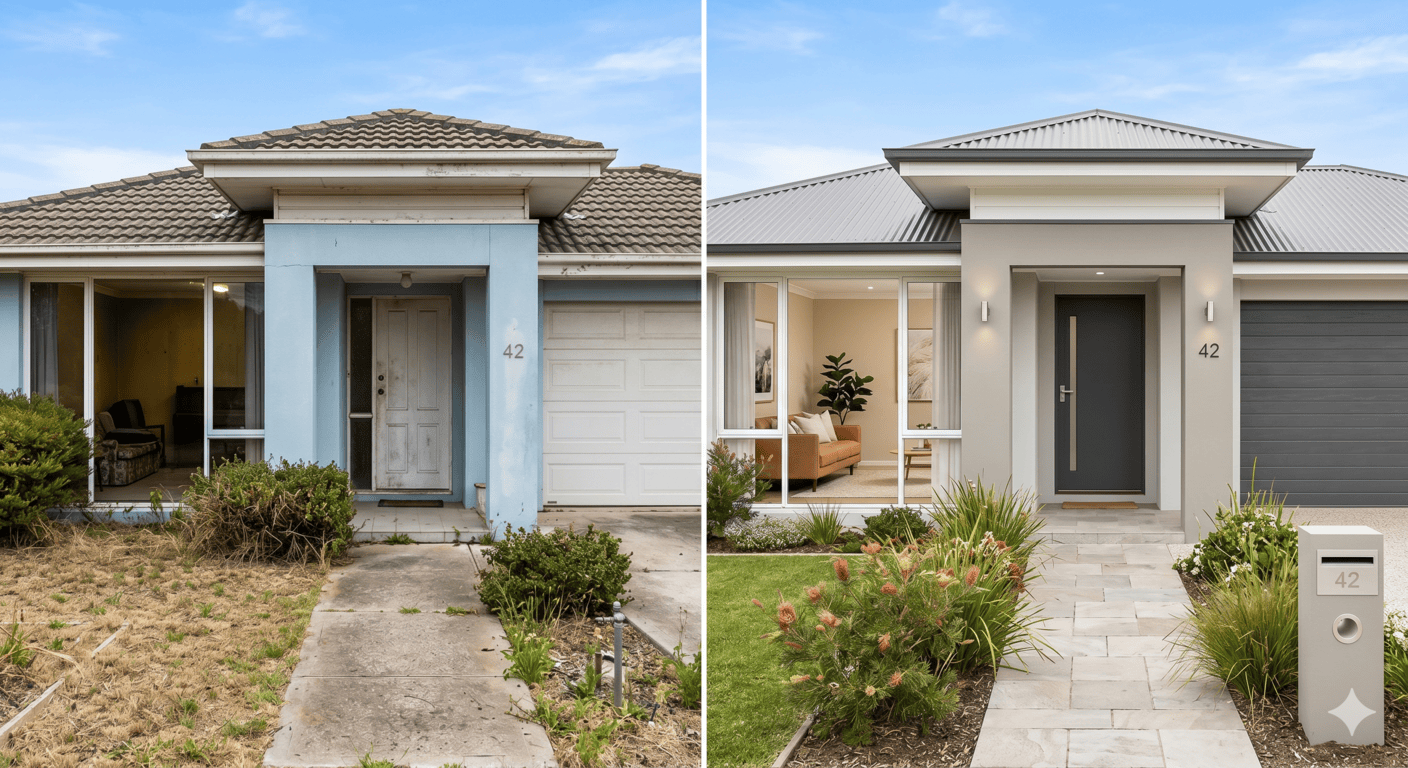
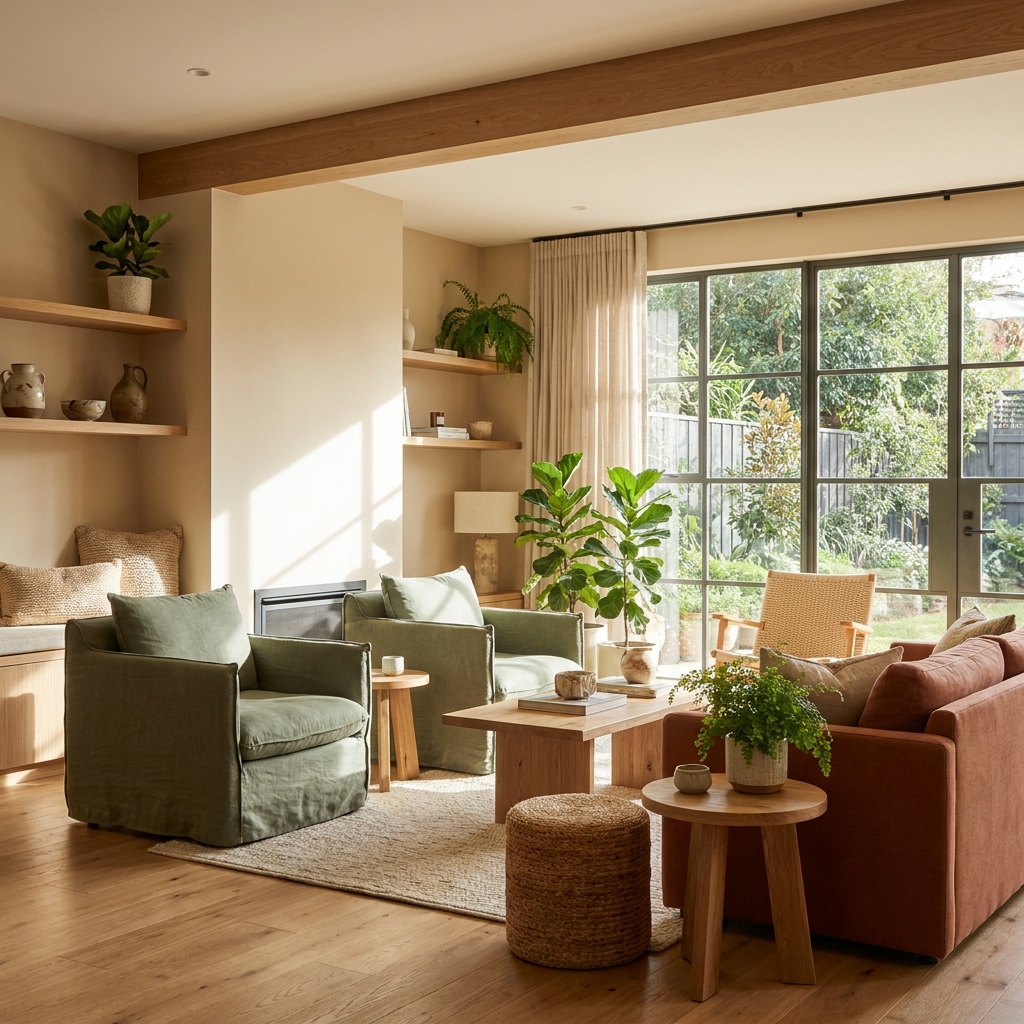
A fresh coat of paint can completely transform a home. It can brighten dark spaces, modernise outdated rooms, improve property value, and make interiors feel cleaner and more comfortable.
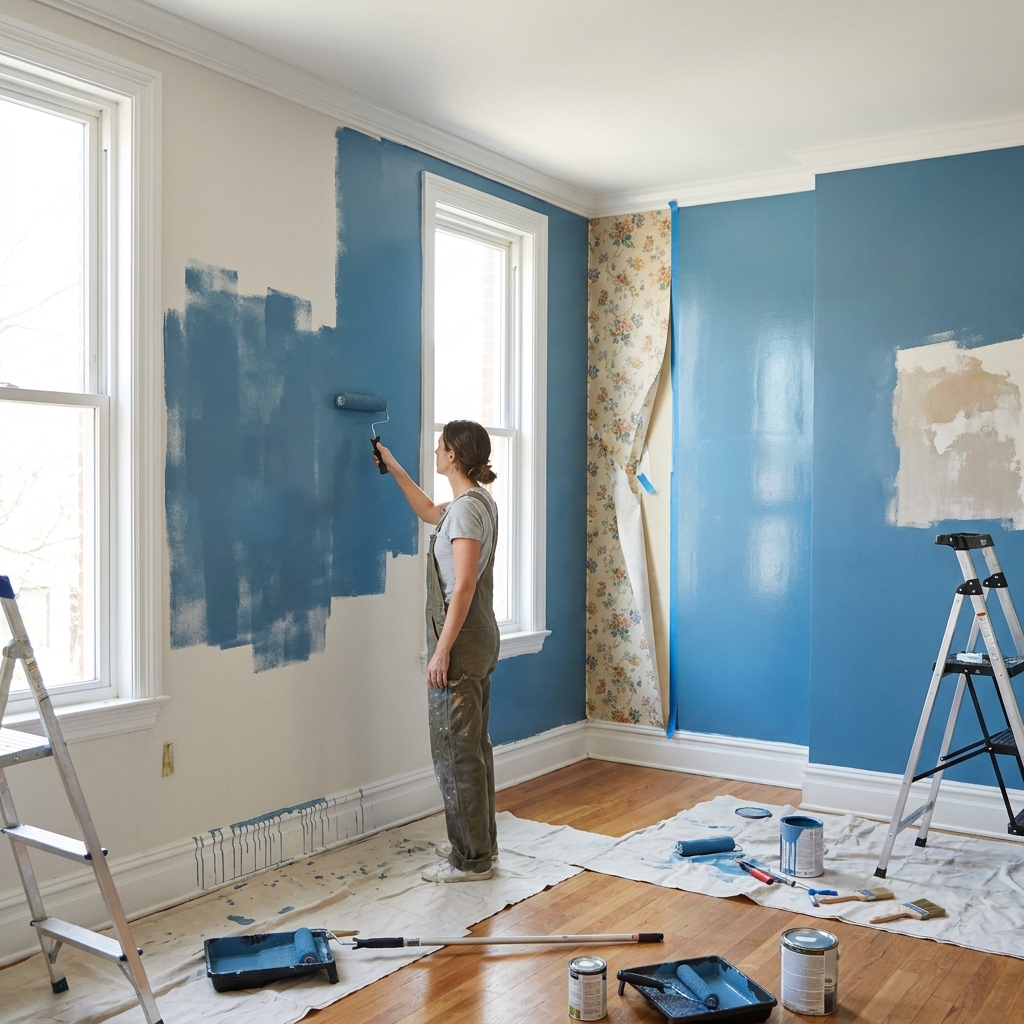
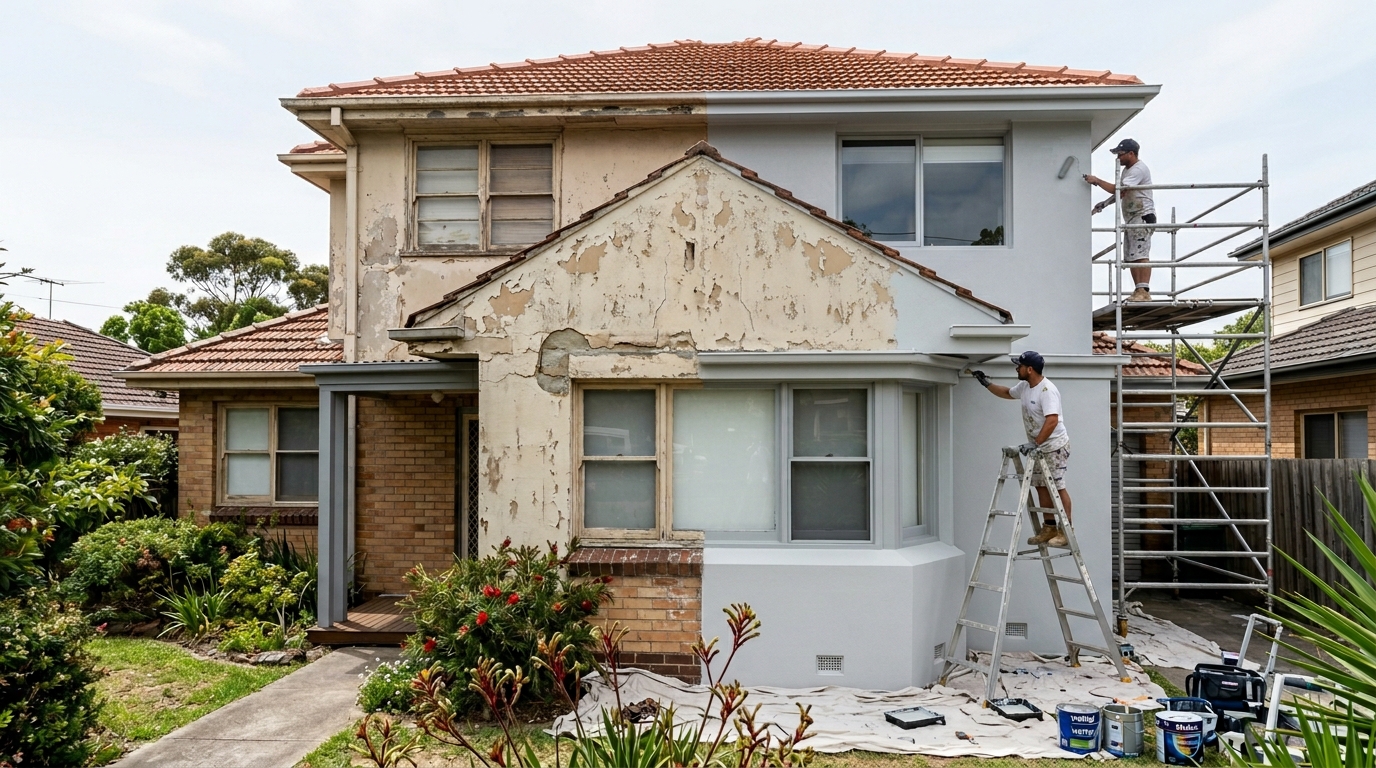
But the difference between a professional-looking result and a disappointing one usually comes down to preparation.
Many painting problems such as peeling, streaking, patchy coverage, roller marks, and uneven finishes happen long before the first coat of paint touches the wall.
This interior painting checklist helps homeowners prepare properly, avoid common mistakes, and achieve a cleaner, longer-lasting finish.
Interior painting is not simply about changing colour.
Good painting involves:
Skipping these steps often leads to visible defects and shorter paint lifespan.
Professional painters often spend as much time preparing surfaces as they do painting them.
Before opening a paint tin, take time to plan the project carefully.
Clear planning helps avoid unexpected delays and additional costs.
Different paint sheens perform differently depending on the room.
| Sheen Type | Best Use
| Flat / Matt | Ceilings and low-traffic areas |
| Eggshell | Bedrooms and living rooms |
| Satin | Hallways and family spaces |
| Semi-Gloss | Kitchens, bathrooms, trims |
| Gloss | Doors and cabinetry |
Higher sheen paints are easier to clean but also highlight wall imperfections more clearly.
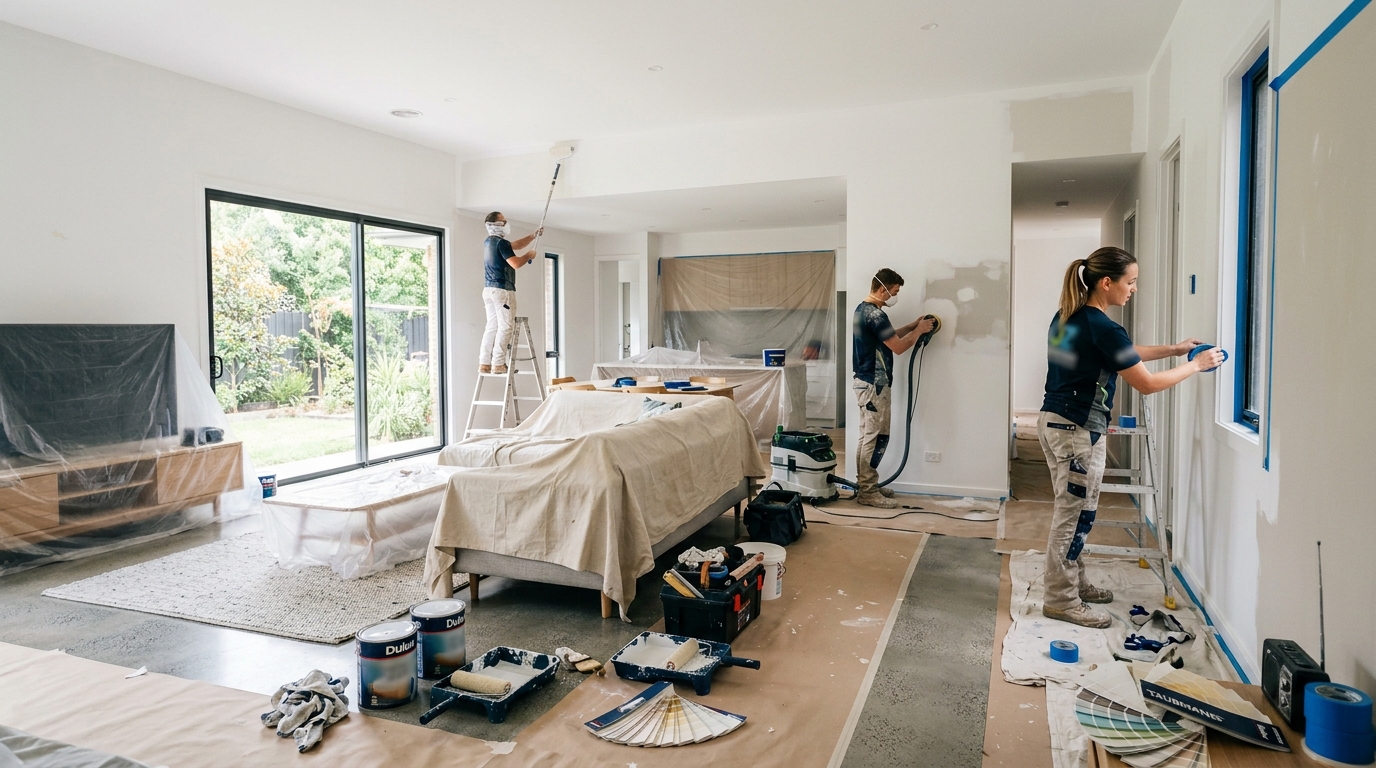
Brands like Dulux, Haymes Paint, and Taubmans offer a wide range of interior finishes suitable for Australian homes.
Paint colours often look different depending on:
Always test sample colours directly on the wall before committing to full-room painting.
Observe the colour during both daytime and evening lighting conditions.
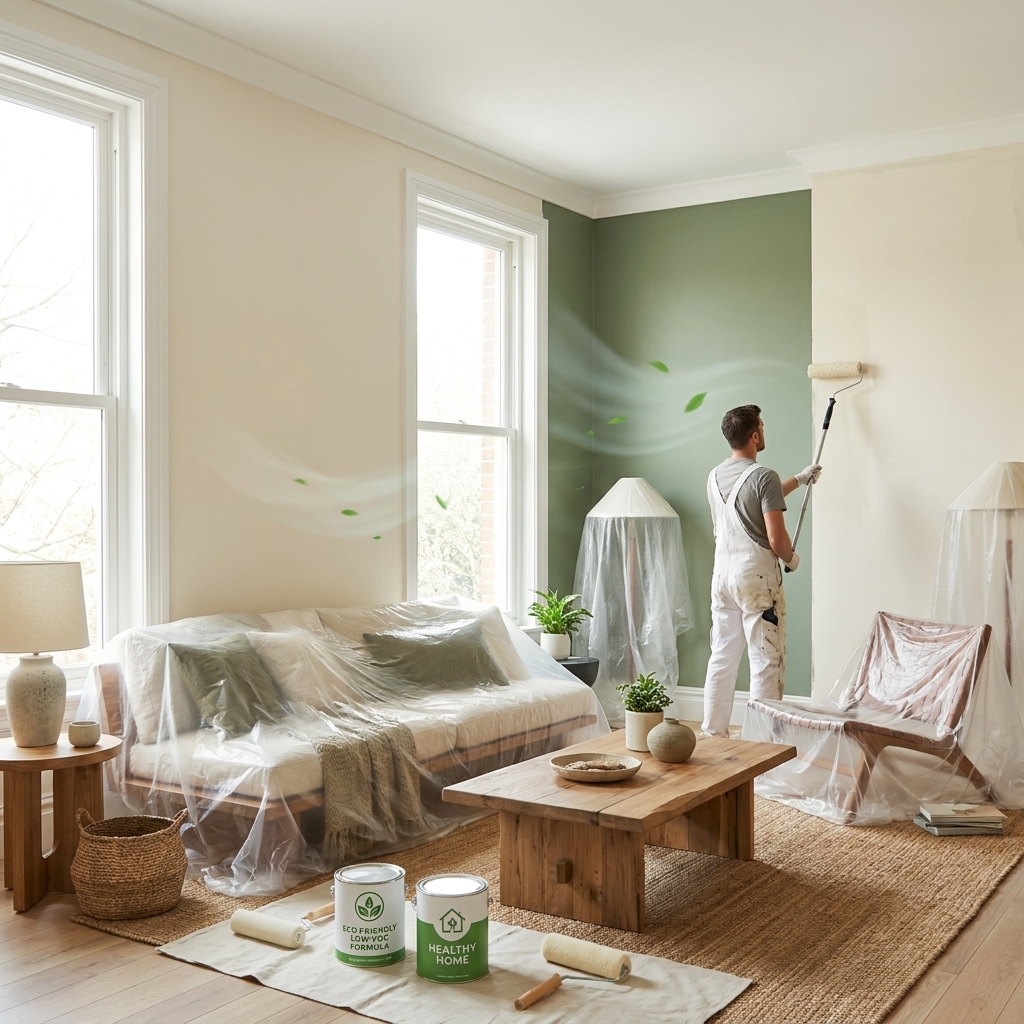
Before preparation begins:
Take down:
This creates cleaner paint lines and reduces accidental damage.
One of the most overlooked painting steps is cleaning.
Walls collect:
Paint does not bond properly to dirty surfaces.
Paint does not hide imperfections. It usually makes them more visible.
Allow fillers to dry fully before sanding.
Sanding creates a smoother finish and improves paint adhesion.
After sanding, remove dust completely using a vacuum or damp cloth.
Painter’s tape helps create clean edges around:
Apply tape firmly to avoid paint bleeding underneath.
Good-quality painter’s tape generally produces sharper results.
Primer is not always required, but it becomes important when:
Primer improves adhesion and helps achieve even colour coverage.
Cheap tools often leave:
Professional-quality tools make painting easier and improve final results.
Professional painters usually follow this sequence:
This helps reduce drips and overlap marks.
Most walls require at least two coats for consistent coverage.
Dark colour changes may require additional coats.
One of the biggest painting mistakes is rushing between coats.
Drying times vary depending on:
Applying paint too early can cause:
Always follow manufacturer recommendations.
After the final coat dries:
Inspect walls under both natural and artificial light.
Small touch-ups are easier immediately after painting.
Proper cleanup extends the life of painting tools.
Label paint tins with room names for future maintenance.
Many homeowners make avoidable mistakes such as:
A methodical approach almost always delivers better long-term results.
DIY painting can save money for smaller projects.
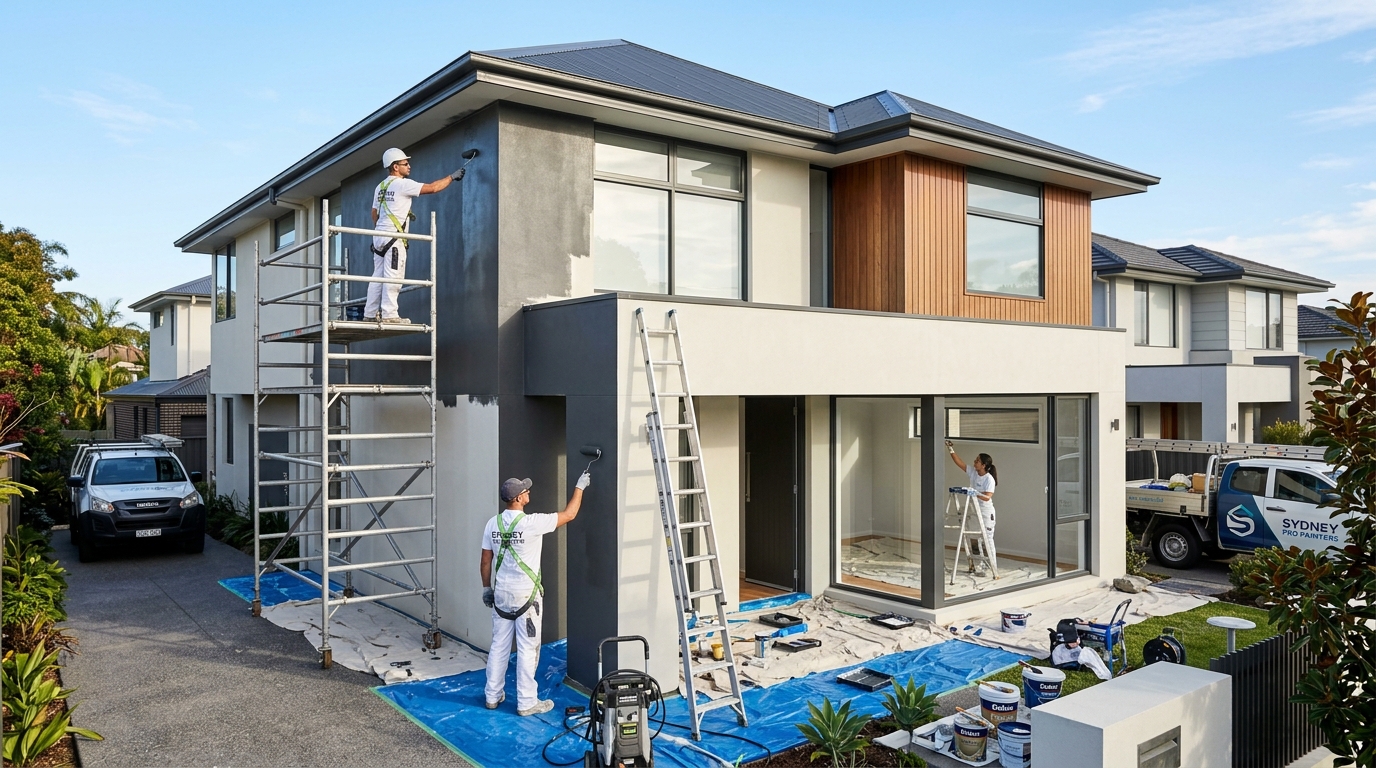
However, larger homes, high ceilings, difficult repairs, and premium finishes often benefit from professional painters.
Professional painting usually provides:
The decision depends on budget, skill level, and project complexity.
A successful interior painting project starts long before the paint roller touches the wall.
Preparation, surface repairs, correct paint selection, proper tools, and patience all play a major role in achieving a professional-quality finish.
Whether repainting a single bedroom or an entire home, following a structured interior painting checklist helps reduce mistakes, improve durability, and create cleaner, more polished results.
Good painting is not just about colour. It is about preparation, consistency, and attention to detail.